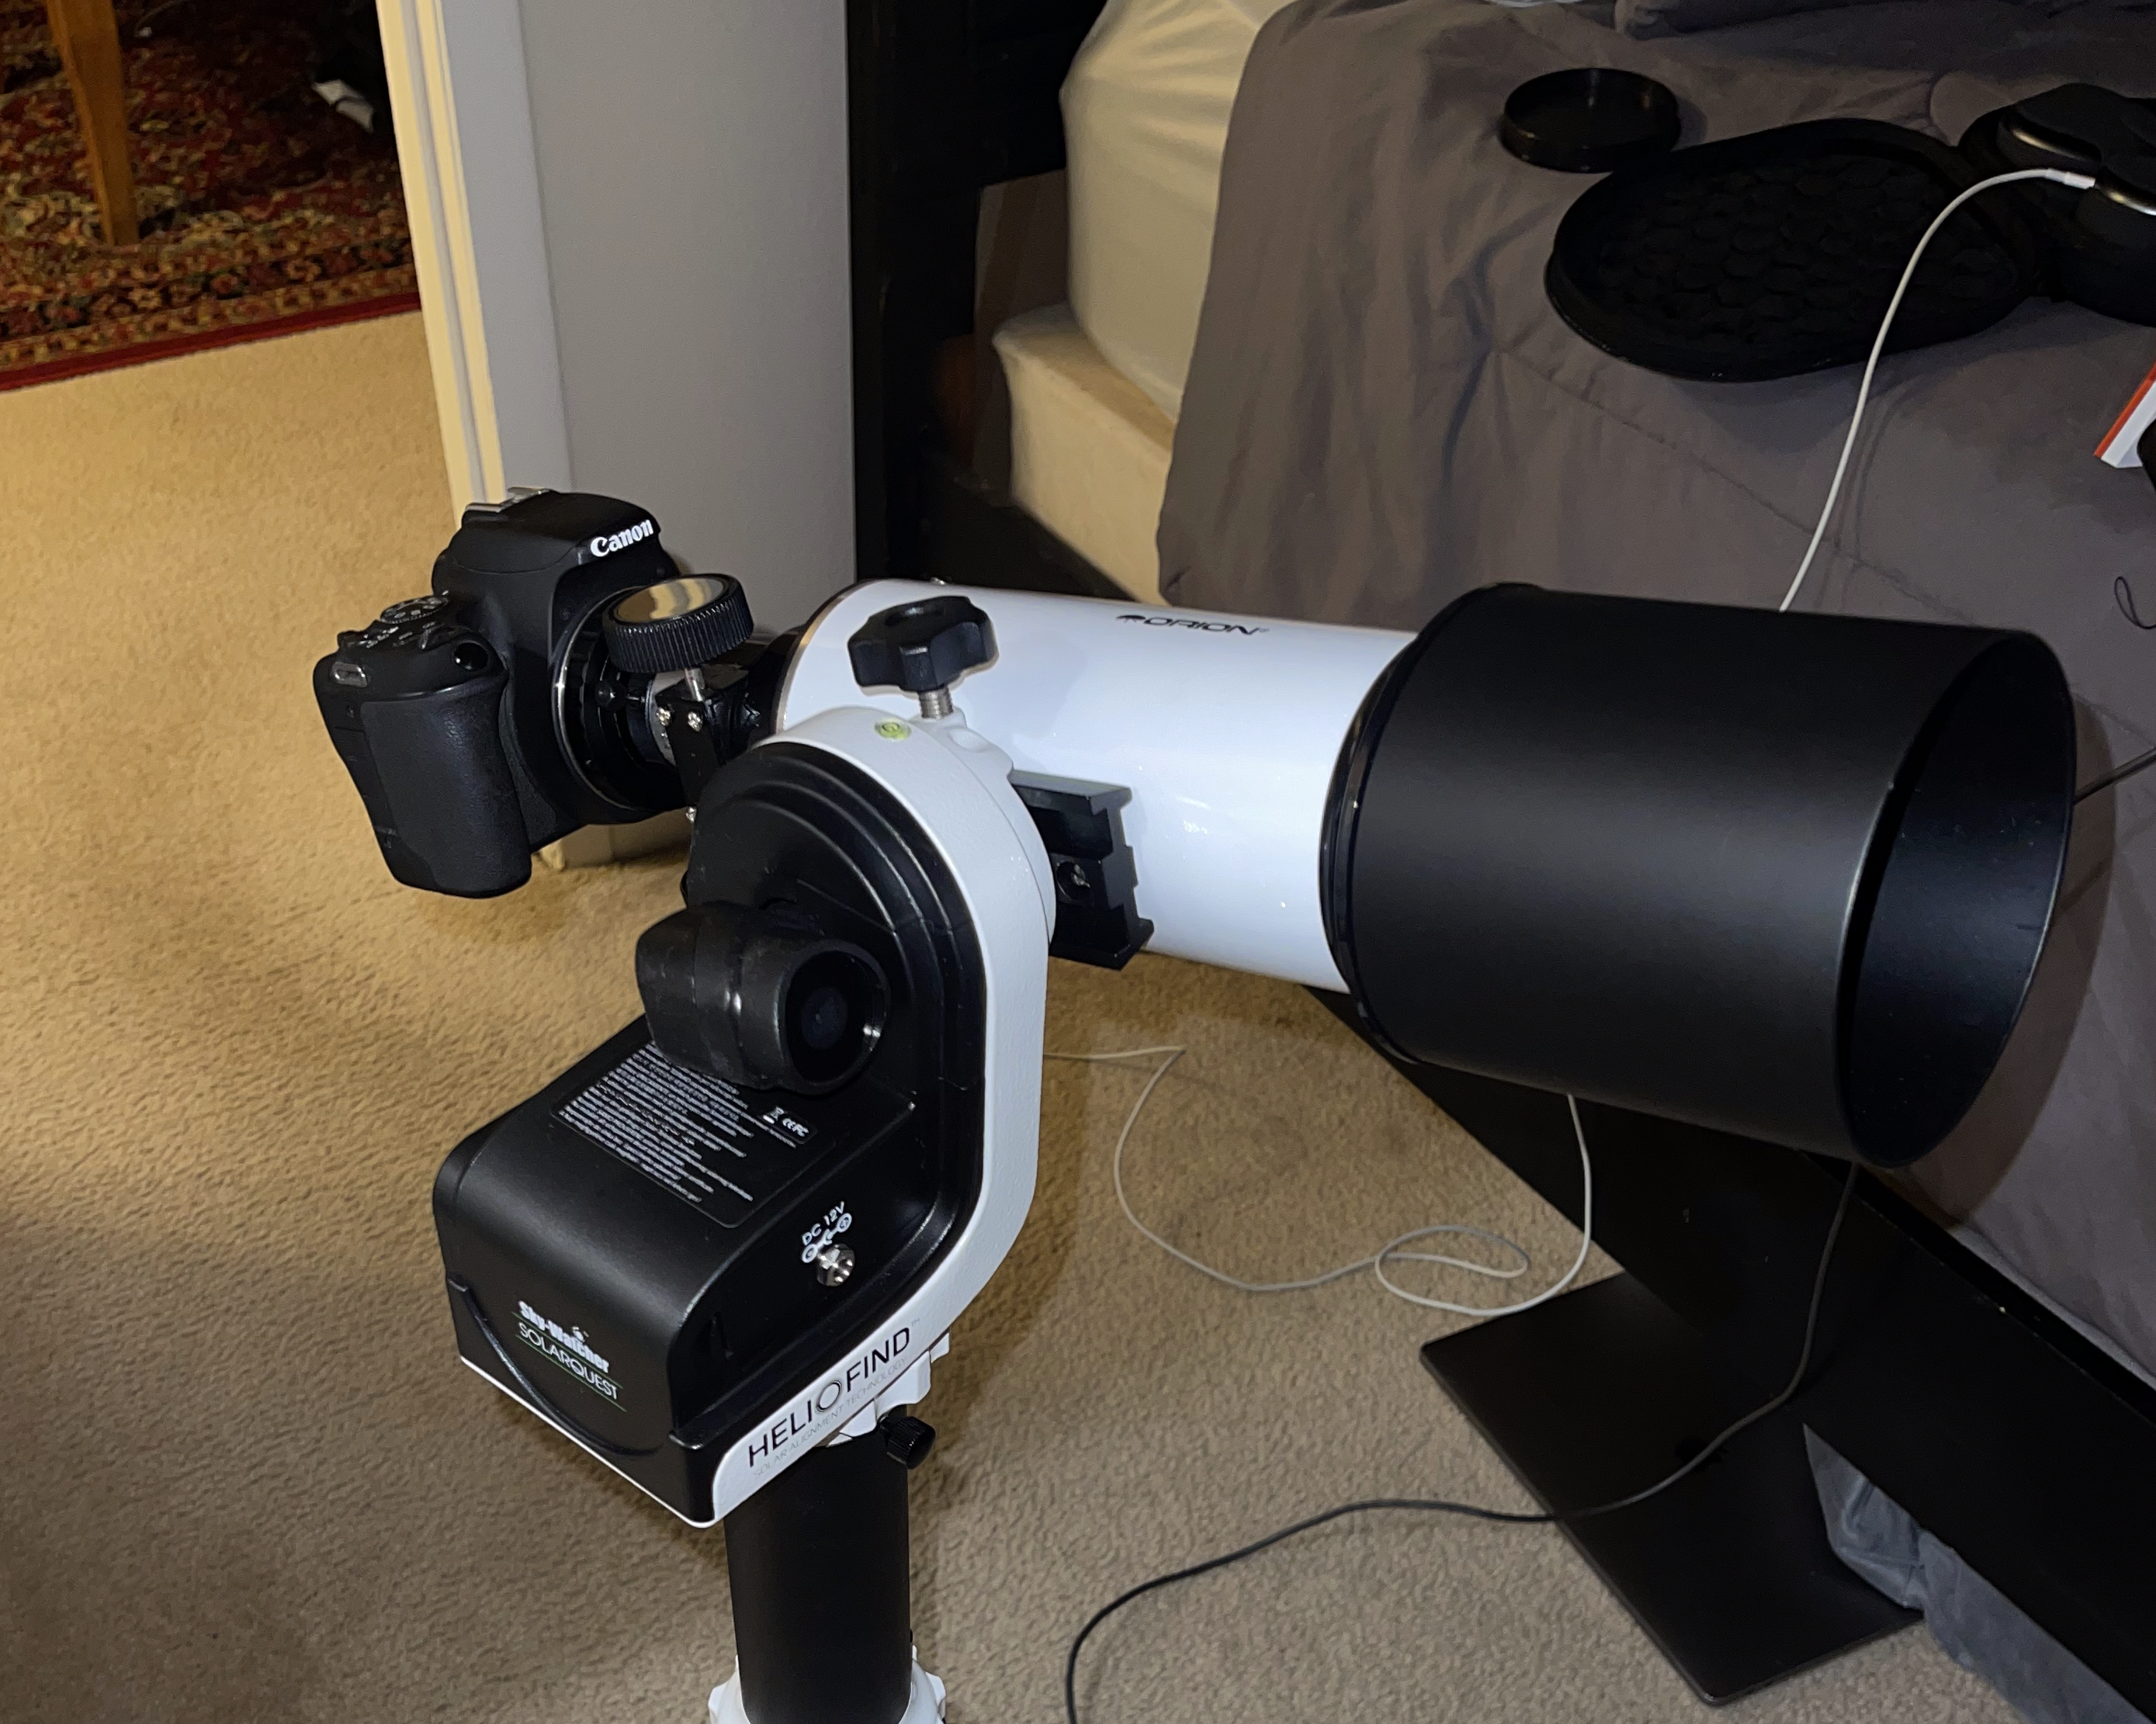
Previously, I had used my ZWO ASI224MC for my moon pictures, but everything I took was far too zoomed in, despite using numerous online calculators to check my framing. I suspected that my issue may be my back-spacing, so I went out another night with my QHY and ZWO guide cameras, which offered slighly further back-spacing of the sensors. Neither of them would come to focus with the Orion 80mm refractor I was using, so I had go go back to square one in terms of my anticipated setup for totality.
My fear was having to scrap my 80mm Orion scope and have to settle for my larger Skywatcher Startravel 102 doublet, which would be much more challenging to stuff in a suitcase for the eclipse - especially since I was already planning on bringing my Lunt 50mm solar scope in addition to the Orion rig - the idea being that I have a hydrogen alpha scope for surface detail during C1 - C2, and an unfiltered 'Totality' rig for C2 - C3. Having a larger and heavier scope would make it much more challenging to drag both rigs from North Carolina to Texas.
While one can be forgiven for thinking that an astronomy camera attached to a telescope would be the best option here, as I did more research on the process of photographing a total eclipse, the I found that the opposite is true. When using automatic software for eclipse photography, such as Solar Eclipse Maestro (which I plan to use in April), a DSLR camera is unequivocally the better option, as these scripts are written for DSLRs, NOT astronomy cameras. I also knew that I've experienced issues with getting a flat field with my ASI1600MM-Pro on my deep sky rig, due to dedicated astronomy cameras not having the same backspacing as a DSLR. So, my working theory was that the additional backspacing from my DSLR would at least bring the image to focus.
Next is the issue of framing. Havign a zoomed-in photo of a total solar eclispe doesn't do much good - that is, of course, unless you're solely interested in prominences. This being my first eclipse, of course I'm most interested in the corona, so the disk needs to be somewhat smaller in my framing. Luckily, there is a particuarly good resource available for framing your eclipses: Fred Espenak's How to Photograph a Solar Eclipse. On this page, he includes a very useful chart to assist in framing your eclipse photos. Now, my camera is a Canon 200D, meaning that it uses a crop sensor, so for me, the examples from Fred's chart correspond to the blue numbers. My orion CT80 refractor has a focal length of 400mm, so it is obvious that my camera's size for the disk lies somewhere between the third and fourth picture.
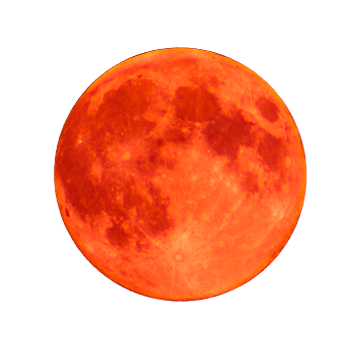
With something as rare as a total solar eclipse in your own home territory, looking at this chart and saying "that should be good for me," is not a wise decision. We had good weather here in Chapel Hill, and I haven't paid any mind to a full moon in quite some time, so I decided to go out and double check my framing. This was a lucky opportunity, as it had rained earlier in the day, and I had already finished all of my homework for the week from my third-year physics undergrad courses. Once I arrived at my usual astro spot, a few things were immediately evident. Firstly, the sky was indeed impossibly clear, but evironmental issues caused me concern. A thick mist was eminating from the field, and the light that shone from my car's headlights revealed a thick fog.
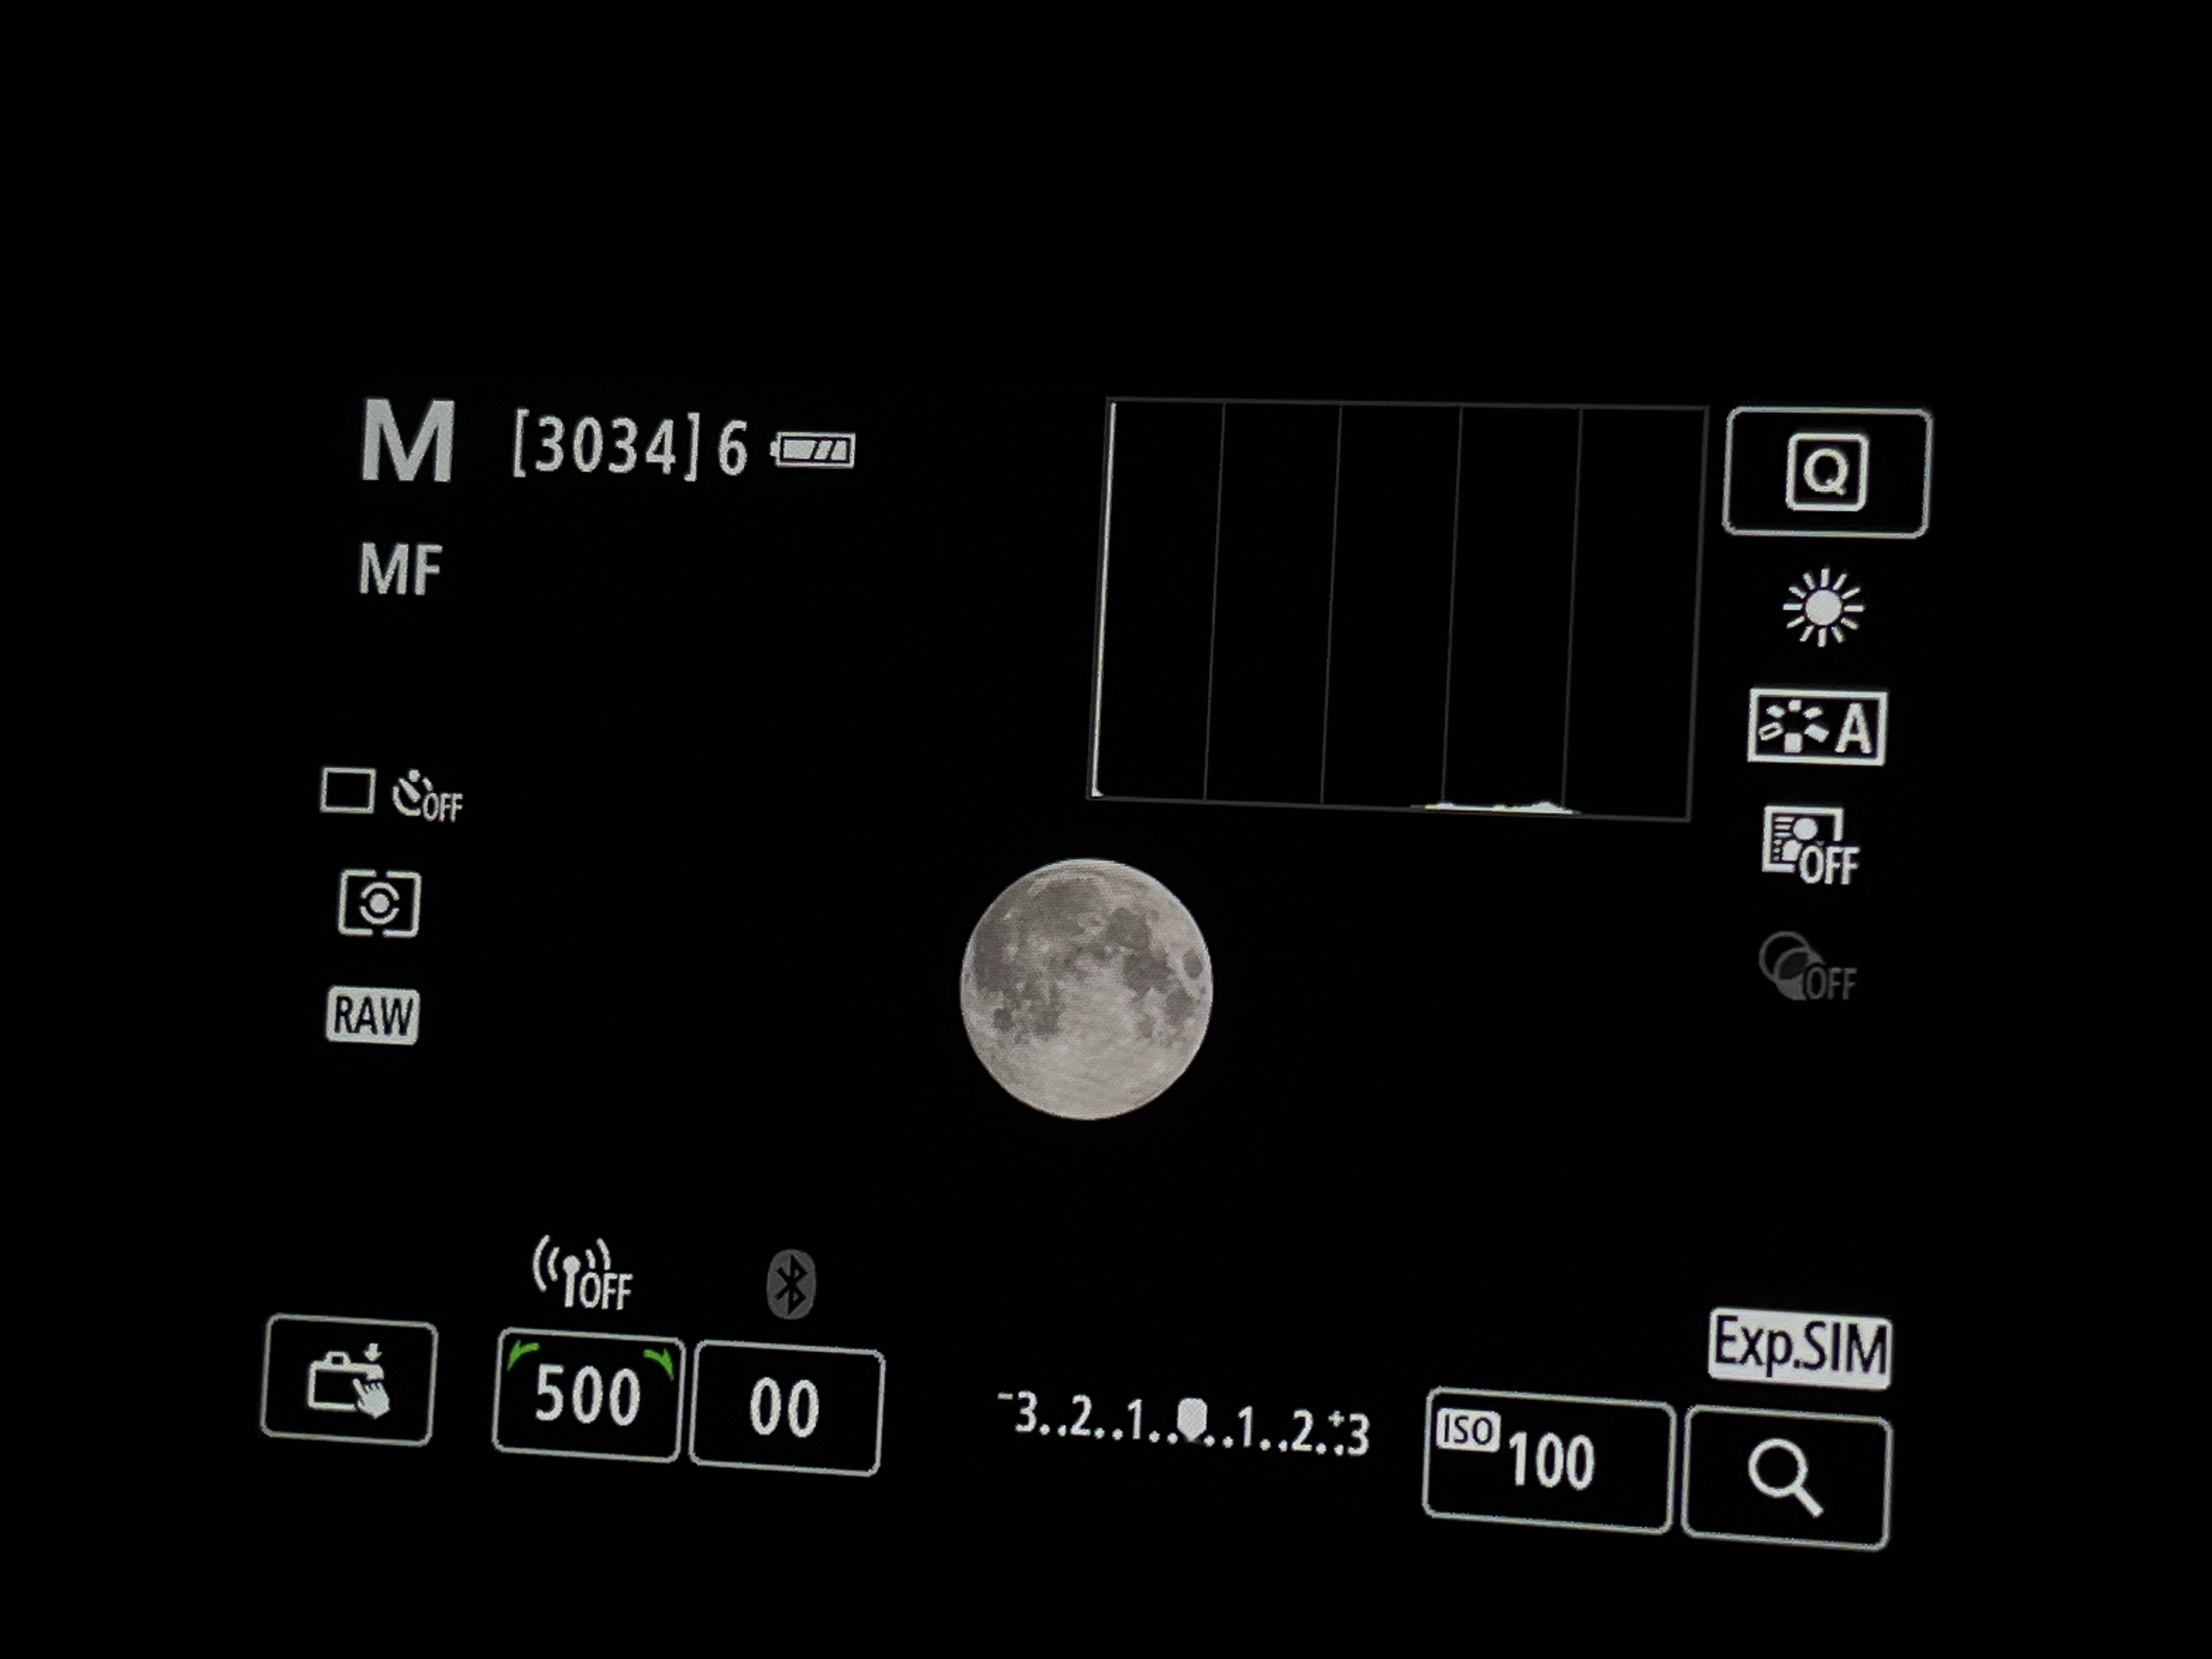
These issues alone would immediately rule out the possibility of deep sky astrophotography that night, but because I was only taking a few pictures of the moon, I figured that I would be fine. My main concern from there, due to the high humidity, was dew forming on my lens, which I was not prepared for. On top of that, it was absolutely freezing. Either way, it was necessary to act fast. Also, I should mention that anyone wanting to dabble in lunar photography should invest in an intevalometer or remote shutter release. Yes, practically any modern camera will allow you to set timers before your exposure goes off, but the convenience offered by a remote shutter release is unparalleled. I'll definitely be taking one with me to Texas in April.
Now, in terms of actually executing the photography process, it's pretty easy. Just pick a quick exposure time and a resonably dark ISO, snap some pitures of the full moon, bump your exposure time slightly to pick up the moon's glow, and maybe focus elsewhere in the sky to get some shots of the stars for your overall HDR image. Of course, if you're just going for a regular moon shot, the extra steps aren't necessary - just snap some good looking pictures of the full moon!
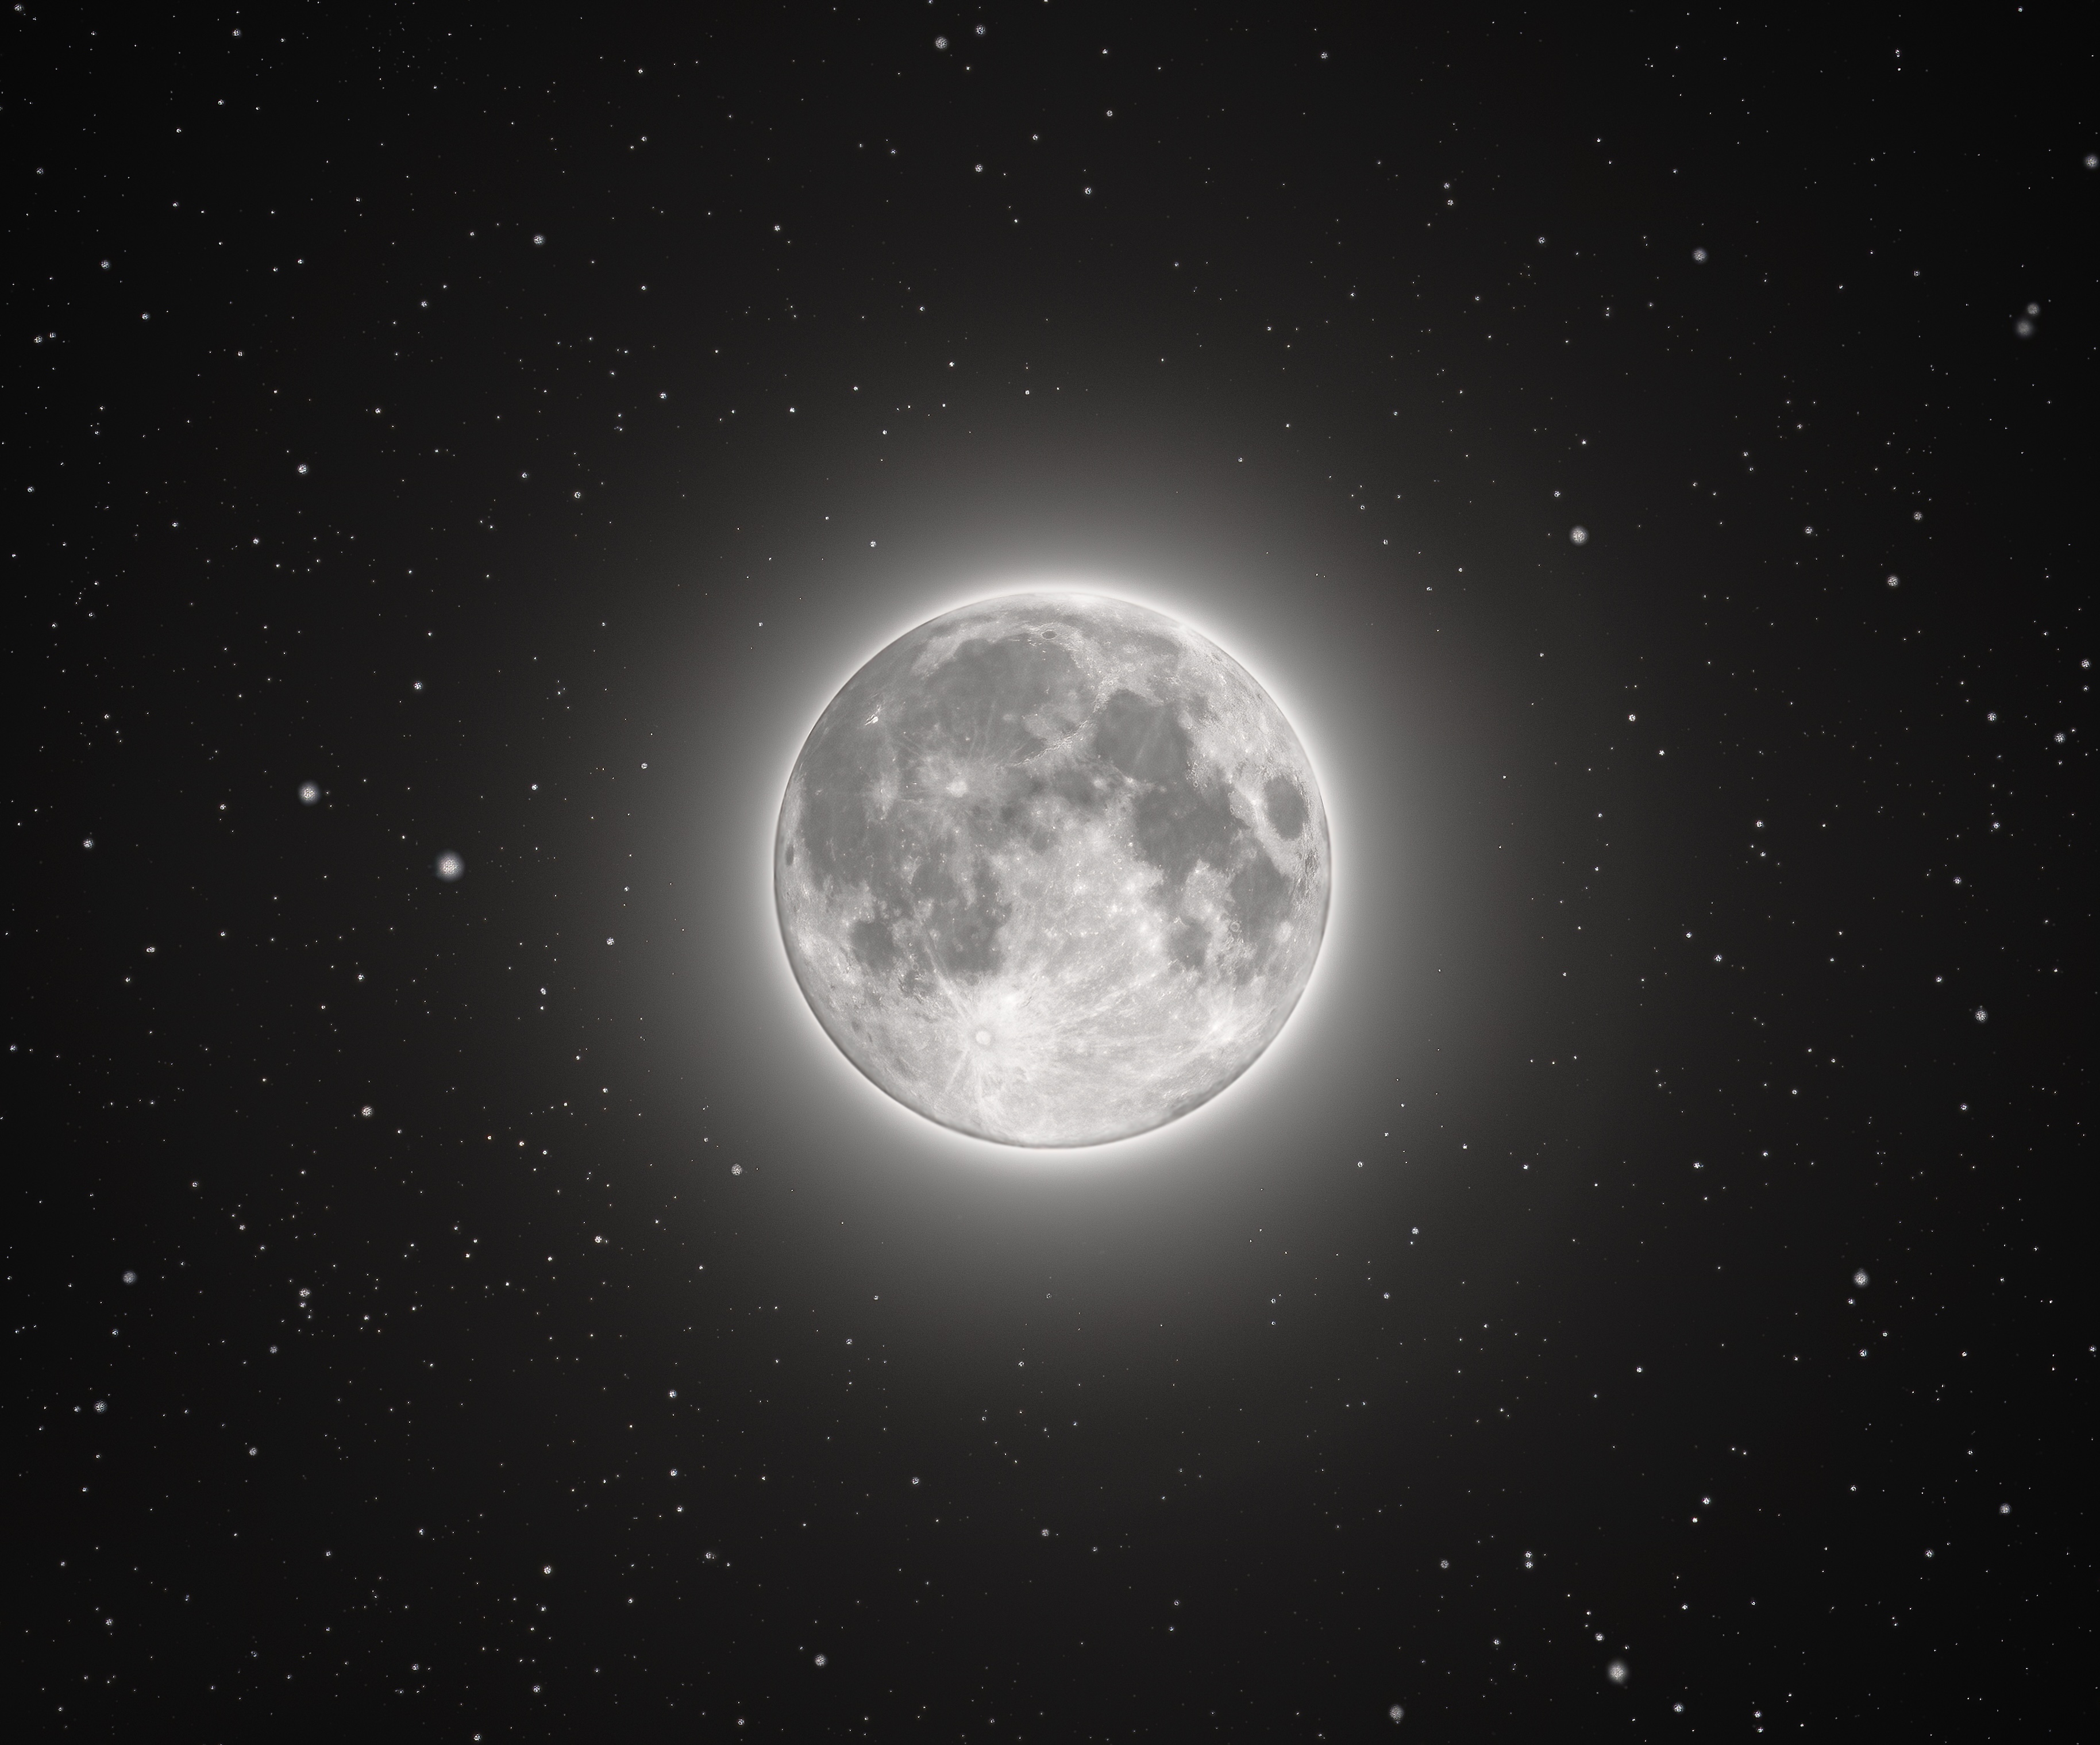
In terms of compiling your data to make a HDR image, there's a wealth of information available online. Practically all of these demand a working knowledge and possession of Photoshop. While I'm not focusing on how to edit a similar moon photo, I will provide a useful tutorial for doing it. Again, I want to emphasize that these moon photos are not enirely 'honest.' They involve splicing a lot of different data together to give you a nice-looking picture. This is the tradeoff with HDR moon images. You're lying about the authenticity of your photo, but as long as you're honest about it to your audience, I see no issue. To further highlight this point, in my final image of the moon below, I actually used the stars from the Heart Nebula taken with a starmask. Anyone who plate solves this image will very quickly realize that. Consider it as a little 'easter-egg' for the eagle-eyed observer.
If you know me, you know I have a history of knocking moon photography. Anyone plotting against me will be very pleased with the irony of me now enjoying it. While I still retain the opinion that moon photography alone is rather dull, I'll concede that HDR and landscape moon photography is pretty cool. It's quick, easy, and keeps you active in the hobby while you're continuously battling a heavy workload. For these reasons, if you're following my astrophotography journey, you're going to have to deal with a lot of lunar, solar, and planetary astrophotography, as it is challenging to find the time to invest into a large-scale deep sky project while being a full-time astrophysics student.
Anyways, I've done enough rambling for this article. Below is my final image for February's Snow Moon. I'm quite satisfied with the outcome, especially with how the moon's glow makes the entire image pop. If you're a photographer looking to reproduce an image similar to this, don't hesitate to reach out. I'm always happy to share the passion and excitement for this hobby. Going foward, the next post on this site will likely be another moon image - I'm really eager to make a HDR composte for a crescent moon. Of course, this is all weather permitting - as is my eclipse photos, though I'll do everything in my power to make it to a segment of the path of totality with clear skies.
